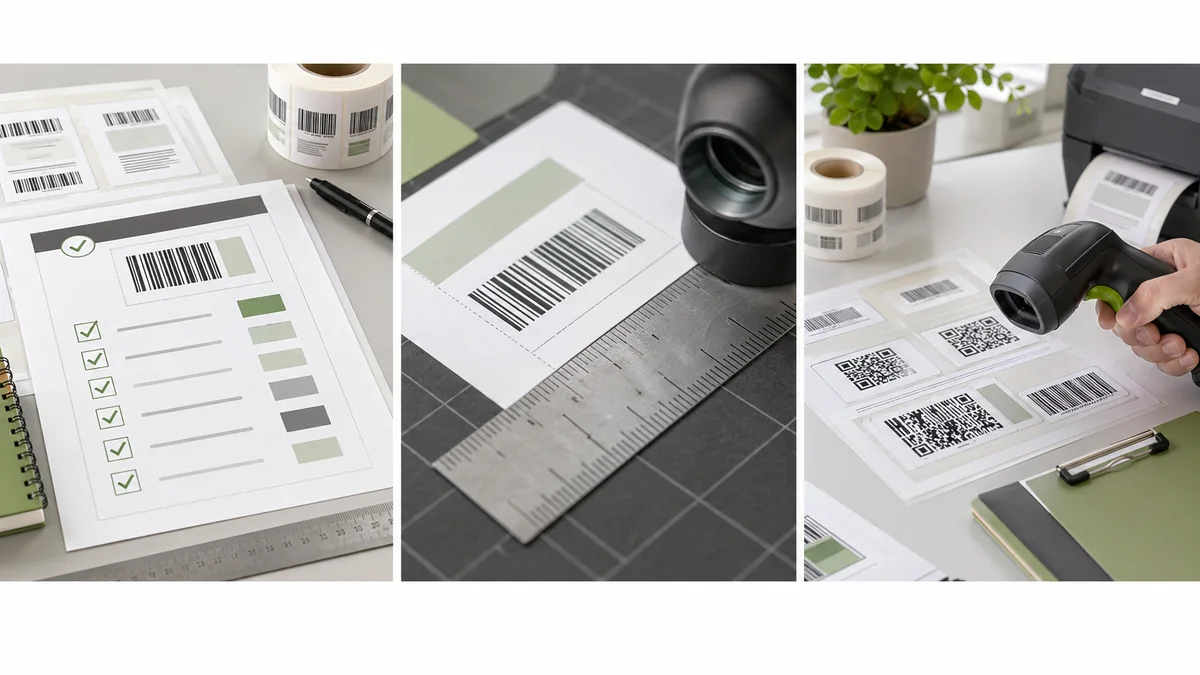
A barcode label design checklist is useful because scan failures rarely come from one dramatic mistake. They usually come from small issues stacked together: a spreadsheet import changed an ID, the code was resized after export, the quiet zone was crowded, and the printer darkness was never tested on the real label stock.
Use this checklist before a production run. It is written for practical internal labels, but it also points out when a team should stop and use formal GS1 or trading partner requirements instead of guessing.
Check the encoded data
Before you inspect the layout, confirm the exact value that will be encoded. A barcode should contain the value the receiving system expects, not a shortened name, a visible product title, or a category that only one team understands.
Data checks
- doneCorrect columnConfirm the barcode uses the intended SKU, asset ID, order ID, lot, location, or URL column.
- doneLeading zeroesVerify that values like 00421, 000482, or zero-padded GTINs remain unchanged after import.
- doneLong valuesStore long identifiers as text so spreadsheet software does not round or convert them.
- doneDuplicatesDecide whether duplicate labels are expected or whether they indicate repeated IDs.
- doneManual fallbackAdd readable text for the most useful human check, such as SKU, asset ID, lot, or short item name.
For GS1 barcodes, do not rely on visual matching alone. GS1 lists check digit calculation, quiet zone size, contrast, symbol size, barcode height, packaging obstructions, deterioration, and symbol positioning among common quality checks: GS1 barcode quality checks.
Protect the quiet zone
The quiet zone is the clear area around the barcode or QR code. It gives the scanner enough space to detect the symbol. GS1 UK explains that quiet zones should match the color of the barcode spaces, usually white, and that nothing should be printed there: what is a quiet zone.
Quiet zone requirements vary by symbol and by printed size. QR codes commonly need a clear margin on all four sides. 1D symbols usually need clear space to the left and right. If the code sits near a label edge, border, icon, image, or text block, move the other element first.
Quiet zone checks
- doneNo bordersKeep decorative lines outside the scan area.
- doneNo iconsDo not place graphics close to the bars or QR modules.
- doneNo clippingCheck the first and last labels on a sheet or roll for edge clipping.
- doneExtra toleranceAdd more clear space than the minimum when printer drift is likely.
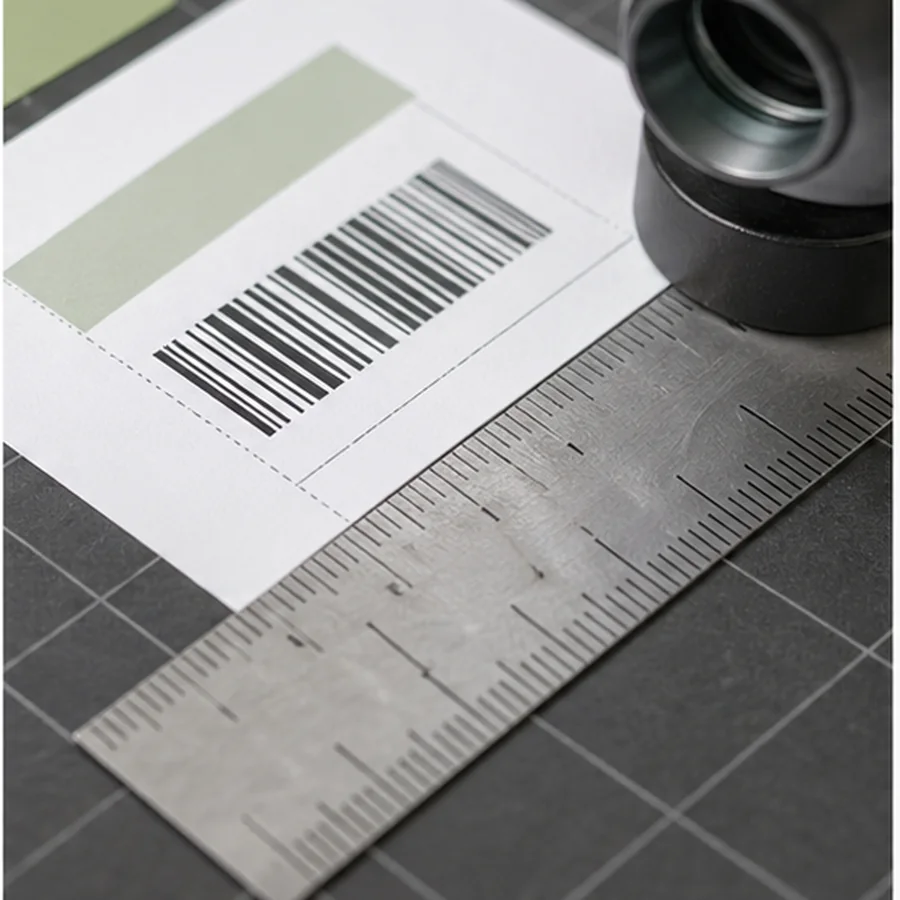
Check size, contrast, and color
A code can be technically valid and still difficult to scan after printing. Avoid shrinking a generated barcode image to make it fit. Regenerate the code at the needed size instead. GS1 US warns that shrinking or enlarging barcode art can affect scanning and also recommends black bars on a white background as the best color combination: barcode placement and printing guidelines.
Make it wide enough for the encoded value. Do not reduce bar height just to fit more text above or below it.
Keep the data short when the label is small. More data usually means a denser QR code that needs more print precision.
Use a size the team can read at the workbench or shelf. If space is tight, shorten secondary text before reducing the code.
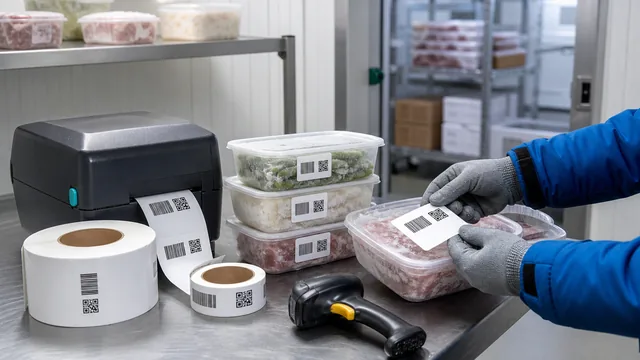
Match the label to the printer
The printer, ribbon, label stock, and surface matter. Thermal roll labels can look clean at one darkness setting and too heavy at another. Sheet labels can drift by row or column. Clear or glossy surfaces may reflect light. Curved bottles, cables, tubes, and small tools can bend the symbol and make scanning less reliable.
Zebra's printer guidance recommends testing barcode quality across darkness and speed settings, and its troubleshooting notes warn that too much darkness can make labels unclear and that slower print speeds typically improve quality: Zebra print quality troubleshooting.
Printer checks
- doneReal stockTest on the exact sheet or roll that will be used.
- doneCalibrationConfirm label size, gap, margin, and feed settings before judging the design.
- doneDarknessUse the lowest darkness setting that gives clean, complete bars or modules.
- doneSpeedSlow the printer if bars look soft, broken, heavy, or uneven.
- doneMaintenanceClean the printhead and platen if labels show streaks or missing lines.
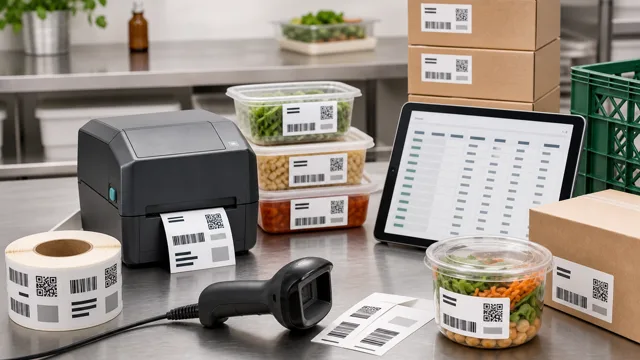
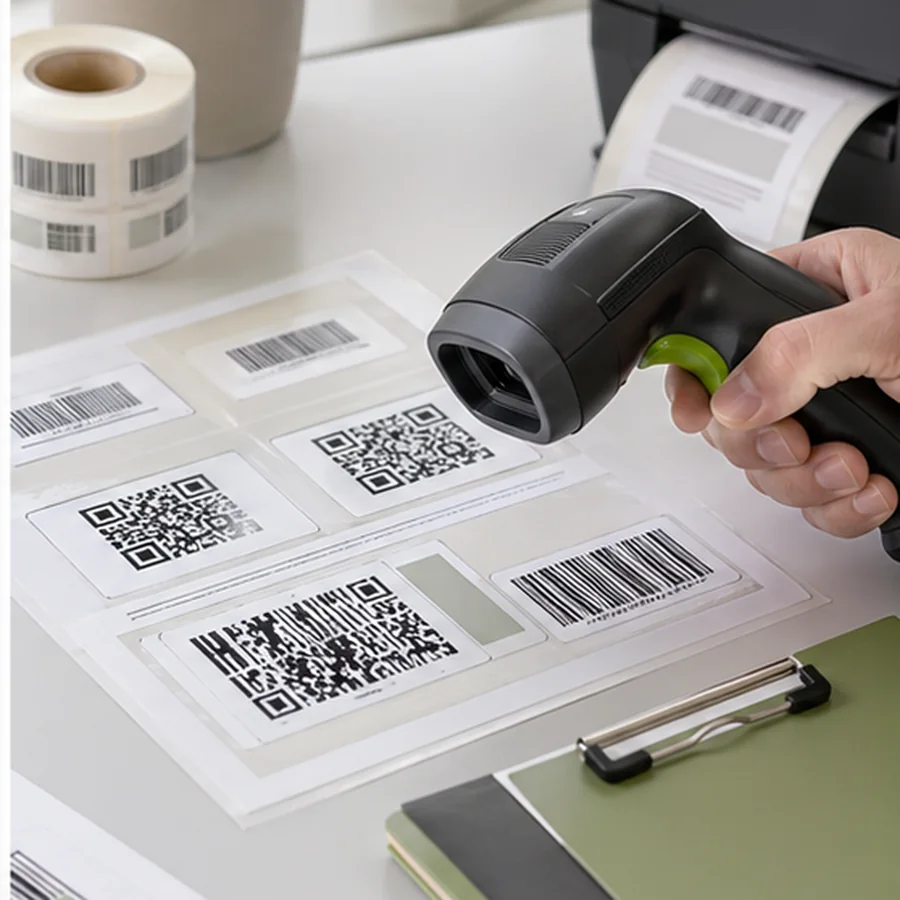
Scan like the team will scan
A successful scan at your desk is not the full test. Scan at the expected distance, angle, and lighting. Scan one label after it is attached to the final surface. If the label will be used in a warehouse aisle, clinic cabinet, classroom, van, freezer, or repair bench, test in that setting.
- Use the same scanner model or phone that the team will use.
- Scan labels near the top, middle, and bottom of a sheet to catch alignment drift.
- Try one label on a curved or textured surface when that is part of the use case.
- Ask someone who did not design the label to scan it and read the text.
- Record the printer, stock, template name, and settings that passed.
Know when to use verification
A scanner test tells you whether one device can read one sample. A verifier checks symbol quality against formal parameters and can explain why a barcode may fail. GS1 UK puts the difference plainly: a scanner beeps or does not, while a verifier checks quality: how to check barcode quality.
For internal shelf labels and asset tags, a disciplined scan test may be enough. For retail checkout, healthcare, logistics, trading partner labels, or anything with chargebacks or acceptance rules, use the required specification and verification process.
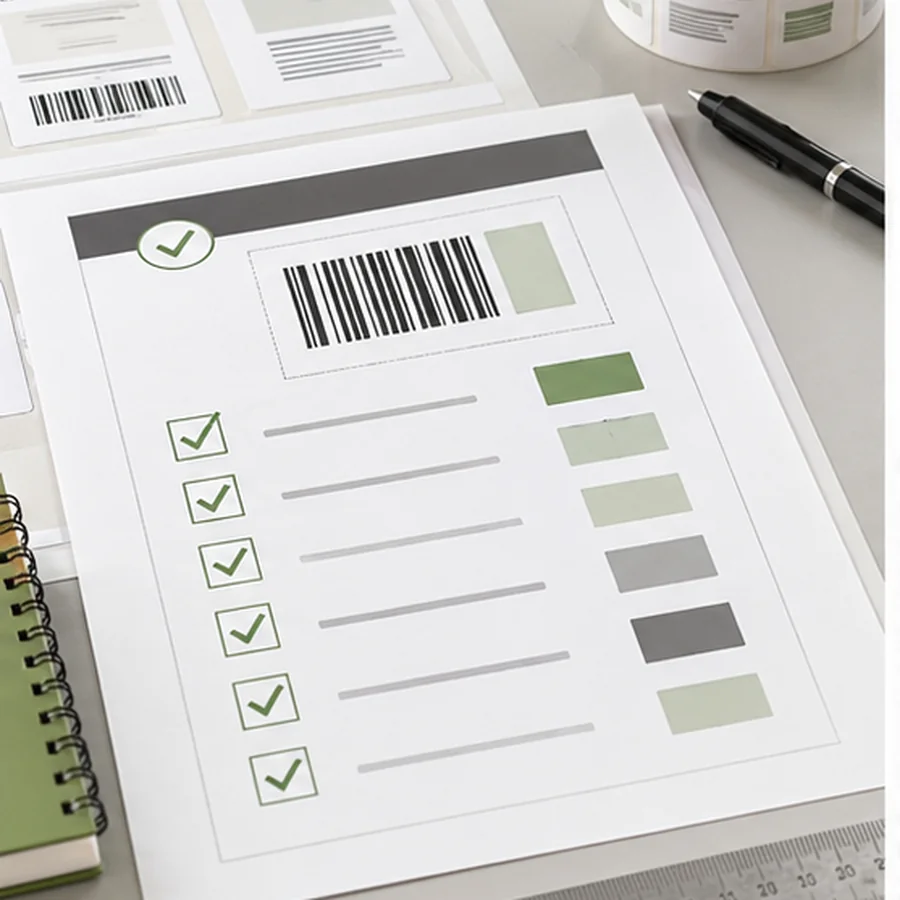
Approve one stable template
Once the label passes, save it as the approved template for that workflow. Include the label size, stock, printer, code type, encoded column, and date approved. The next batch should be a data import and test-print task, not a new design project.