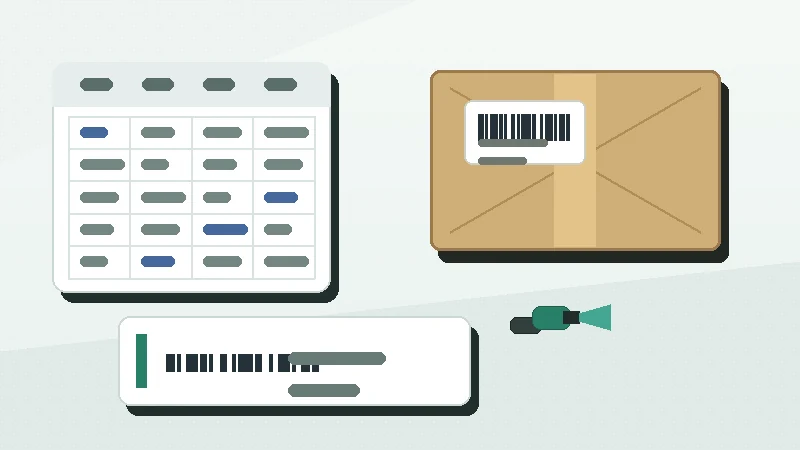
Barcode label templates are useful only when they survive the next batch. A layout can look clean with five sample rows, then fail when a product name wraps, an asset ID gets longer, or the team changes from sheet labels to a thermal roll.
The short answer: build each template around one real workflow, one label size, one encoded value, and one print setup. Keep the barcode or QR code protected, map only the fields people need, and approve the template with real data before saving it for repeat use.
Start with one repeatable workflow
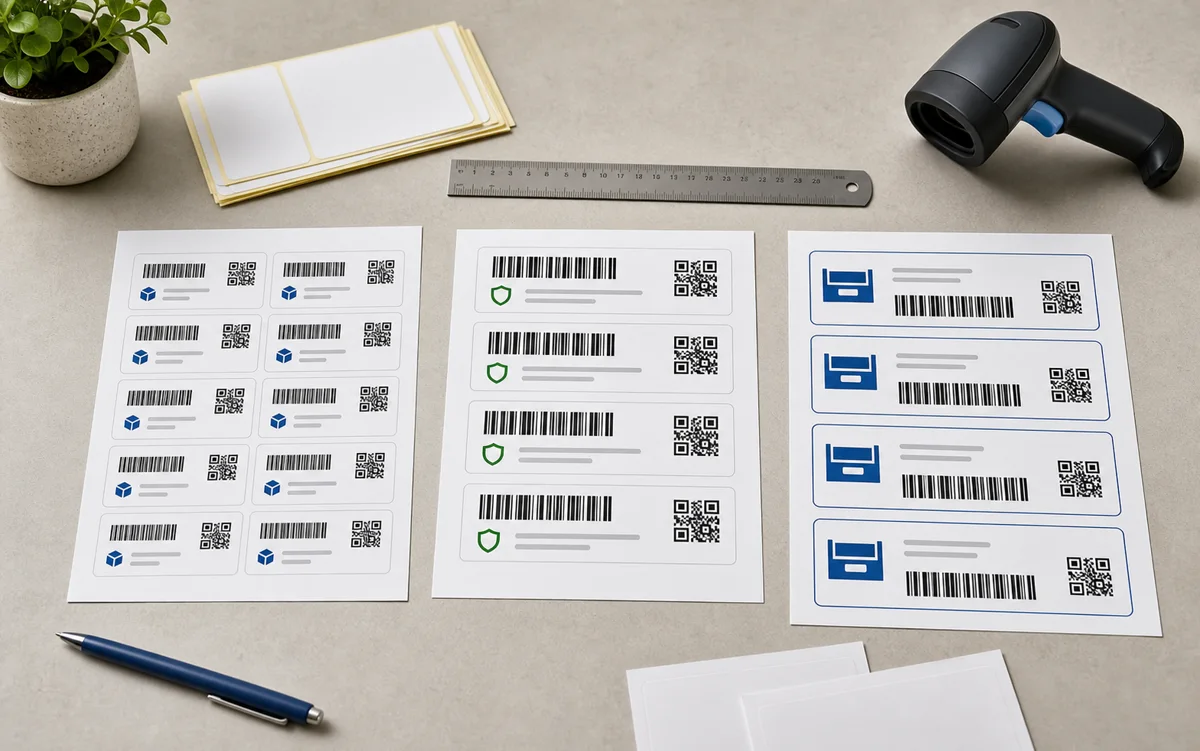
A reusable barcode label template should not try to handle every possible label. Product price labels, asset tags, warehouse bin labels, QR maintenance labels, and event badges all ask different questions. Who scans the code? What value does the scanner expect? What text must a person read when the scanner is not available?
| Decision | Good template answer | Common mistake |
|---|---|---|
| Workflow | Shelf labels for location scans. | One master layout for products, bins, assets, and badges. |
| Encoded field | LocationID or another stable column. | Encoding the visible name because it looks familiar. |
| Human fallback | Readable code plus one short description. | Printing every spreadsheet column on a small label. |
| Stock | Exact width, height, sheet, roll, and orientation. | Designing first and choosing label stock later. |
| Approval test | Preview, test print, scan, and save settings. | Saving the template after checking only the first row. |
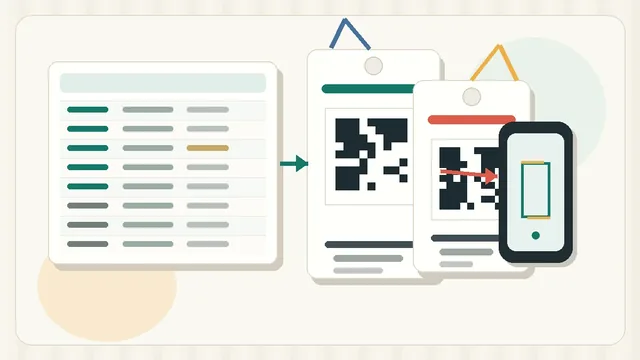
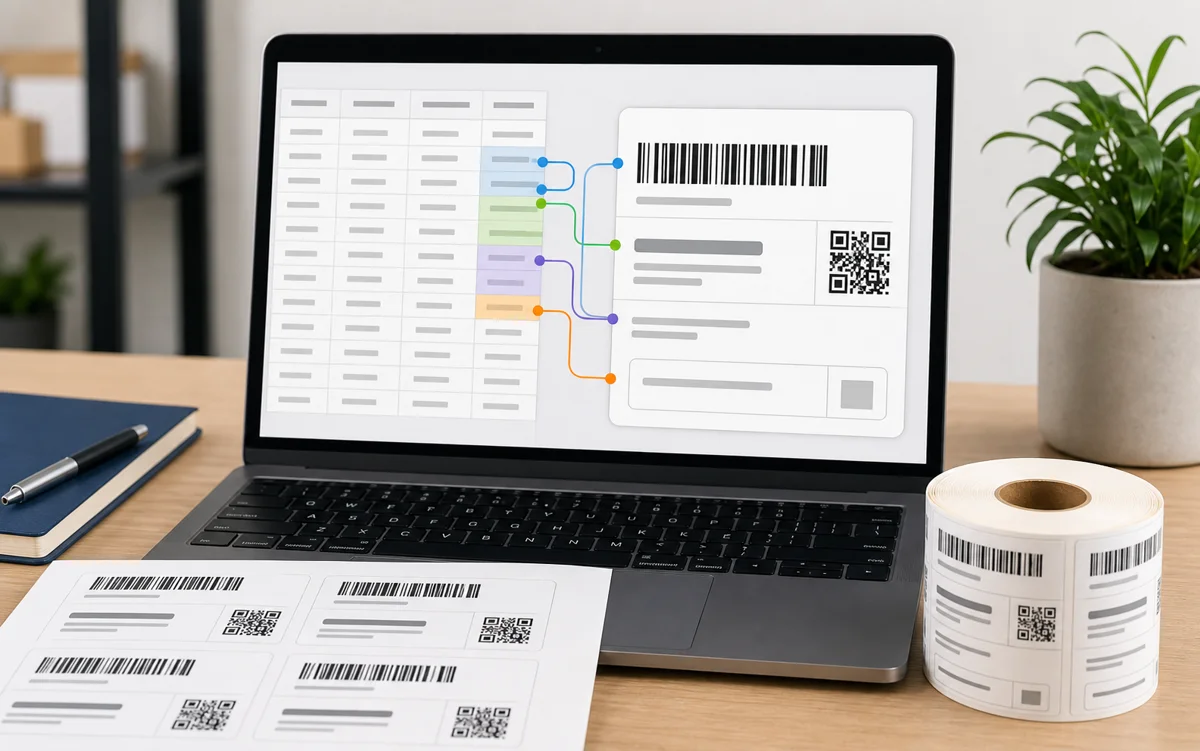
Separate fixed layout from variable data
The fixed part of the template is the label size, code type, code position, quiet zone, font choices, and field order. The variable part is the imported data: SKU, asset ID, product name, location, lot, price, or URL. Mixing those two jobs is how templates become fragile.
Use stable spreadsheet column names and map them intentionally. For example, encode BarcodeValue, print SKU as readable fallback text, and use ProductName only if people need the name at the shelf or counter. For a full spreadsheet setup, use How to Print Barcode Labels from Excel or CSV.
Fields to define before designing
- doneEncoded valueChoose the exact column the barcode or QR code will contain.
- doneReadable IDPrint the SKU, asset ID, bin code, or short URL as a fallback.
- donePrimary contextAdd one useful name, location, price, or batch field when needed.
- doneOptional fieldsDecide what disappears first when space gets tight.
- doneQuantity logicConfirm whether one row prints one label or multiple copies.
Design around the scan area
The code is the functional center of the template. Give it enough width, height, contrast, and quiet space before placing secondary text. If the label feels crowded, shorten readable text before shrinking the barcode. A small label with a squeezed code is not a stable template.
Quiet zones are especially easy to damage when a template is reused. Borders, icons, price blocks, and long names can creep toward the barcode over time. Keep the scan area deliberately boring. For spacing details, read Barcode Quiet Zones and Label Size.
Barcode or QR code, quiet zone, readable ID, and enough margin for printer drift.
Short name, location, price, lot, or owner field when it helps the real task.
Decorative lines, extra icons, duplicate values, and long secondary descriptions.
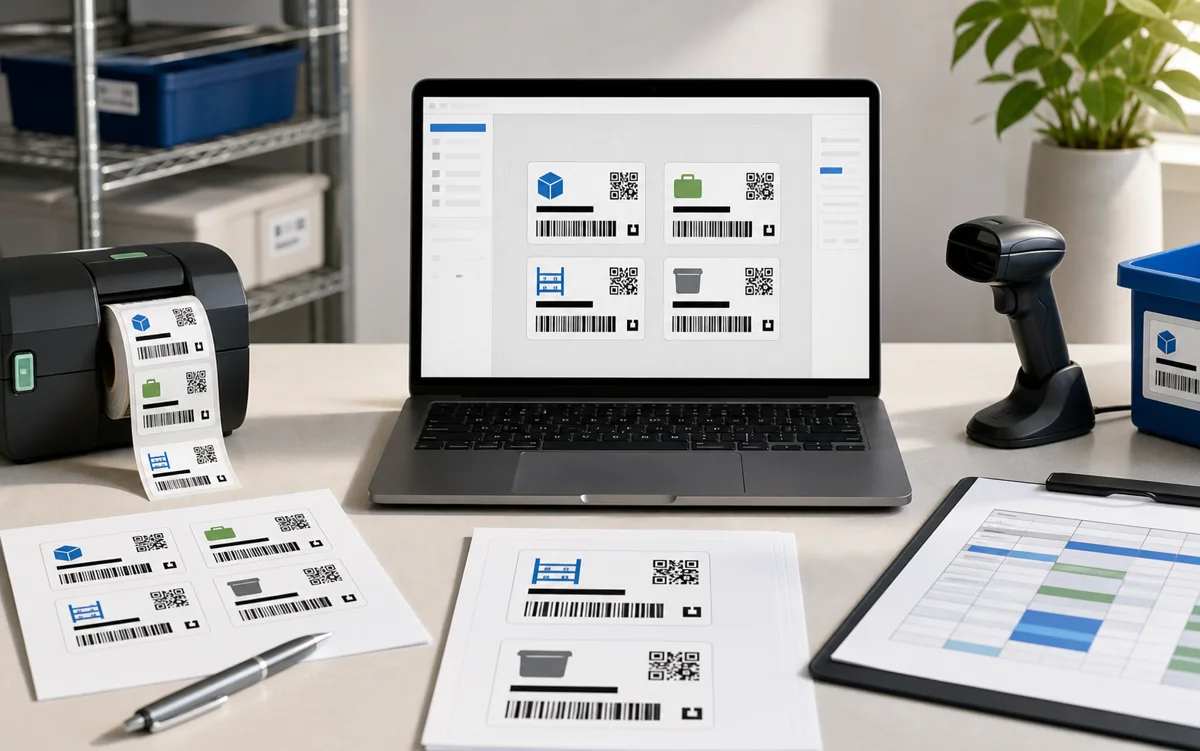
Make variants instead of one crowded master
A template library is easier to maintain when each layout has a clear job. Create separate variants for product labels, asset tags, bin labels, and QR maintenance labels. That gives each workflow enough room for its own code type, text hierarchy, and stock size.
Avoid a master template with every optional field hidden somewhere. It may feel efficient at first, but it usually becomes harder to review. When someone changes a field for asset tags, they may accidentally affect retail labels or warehouse labels. Small, named templates are easier to test and reuse.
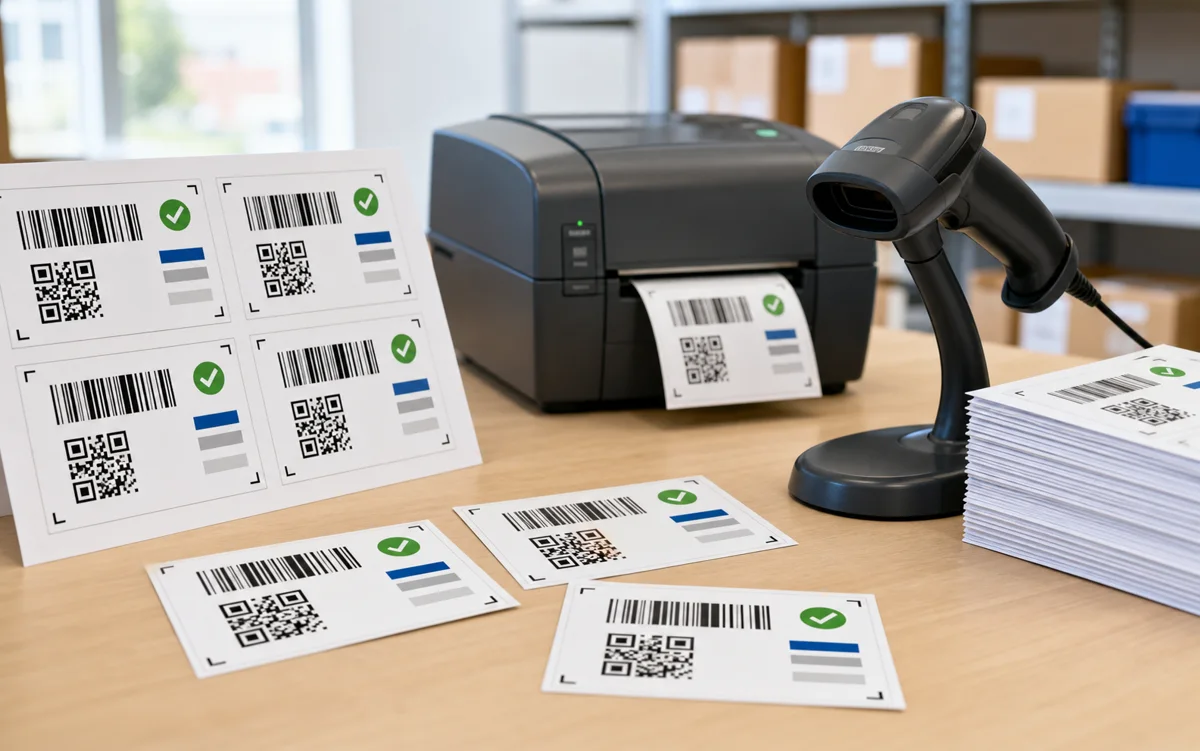
Preview real rows before approving
Do not approve a template with perfect sample data. Preview the shortest and longest values in the real file. Check rows with blank optional fields, long product names, special characters, duplicate IDs, and multiple-copy counts. A template is not ready until the awkward rows still fit.
Approval checklist
- doneReal stockPrint on the sheet or roll the team will actually use.
- doneActual sizeUse 100 percent scale unless the template instructions say otherwise.
- doneScanner testScan samples with the real device and normal lighting.
- doneEdge labelsCheck the first and last positions on a sheet or roll run.
- doneSaved settingsRecord printer, stock, size, orientation, darkness, and scale.
Name and save the approved template
A good template name tells the next person what it is for. Use names such as asset-tag-50x25-code128-v1, bin-label-75x25-qr-v1, or retail-price-avery-5160-v2. Include the workflow, size, code type, stock or template family, and version.
When the template changes materially, save a new version instead of overwriting the old one. That makes reprints safer because the team can identify which layout produced the labels already on shelves, tools, or products. For final production checks, keep the Barcode Label Design Checklist nearby.
Pick one repeated label workflow, prepare five awkward rows of real data, then build and test one template until it prints and scans cleanly.