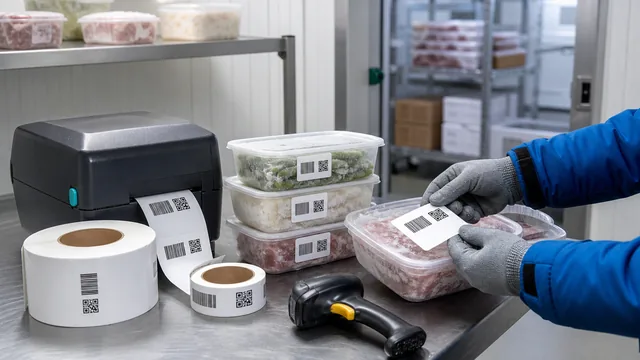
QR code event badges fail at the worst time: the doors open, the line grows, and staff discover that some badges scan slowly or point to the wrong attendee record. A polished badge still depends on exact data, readable names, and a QR code that survives the printer and holder.
The practical workflow is simple: prepare one clean attendee spreadsheet, encode one stable check-in value, keep personal details readable instead of hidden inside the QR code, leave enough quiet zone, print a small test batch, and scan it in the same conditions the event team will use.
Start with the check-in workflow
Before choosing a badge layout, decide what the scan must do. A QR code can open a check-in URL, look up an attendee ID, confirm a ticket, or connect to a private event system. If the badge only needs to identify one person at the door, the encoded value should be short, stable, and easy to match.
Avoid putting every attendee detail inside the QR code. Print the person's name, company, ticket type, or table group as readable text while the QR code carries only the check-in key. That keeps scans short and limits unnecessary exposure.
| Column | Example | Use on badge |
|---|---|---|
| CheckInID | EVT-2026-00482 | Encode in QR code. |
| FirstName | Maya | Print as readable text. |
| LastName | Rossi | Print as readable text. |
| Organization | North Lab | Print if useful for staff or networking. |
| BadgeType | Speaker | Print visibly, not only in the QR code. |
| Notes | internal | Keep out of the badge layout. |
Protect attendee IDs in the spreadsheet
The check-in ID is the anchor. Treat it as text even when it contains numbers. EVT-2026-00482 must stay exactly that value. A plain numeric ticket value such as 000482 should not become 482 when someone opens the CSV file. If the event platform exports a unique ticket code, keep that value unchanged and map it directly to the QR field.
Clean the list before importing it into a label template. Remove blank rows, resolve duplicate check-in IDs, split full names if the layout needs separate lines, and keep internal notes away from printable fields. If staff may search manually, include a short readable value, such as the last 4 characters of the check-in ID.
Attendee data checklist
- doneOne row per badgeKeep each attendee, volunteer, speaker, or staff badge on one row.
- doneStable check-in IDUse the event system's unique ticket or attendee value.
- doneNo accidental duplicatesOnly repeat a check-in ID when the badge is an intentional reprint.
- doneProtected leading zeroesImport numeric-looking IDs as text before designing labels.
- doneReadable fallbackAdd a printed name or short ID for manual lookup.
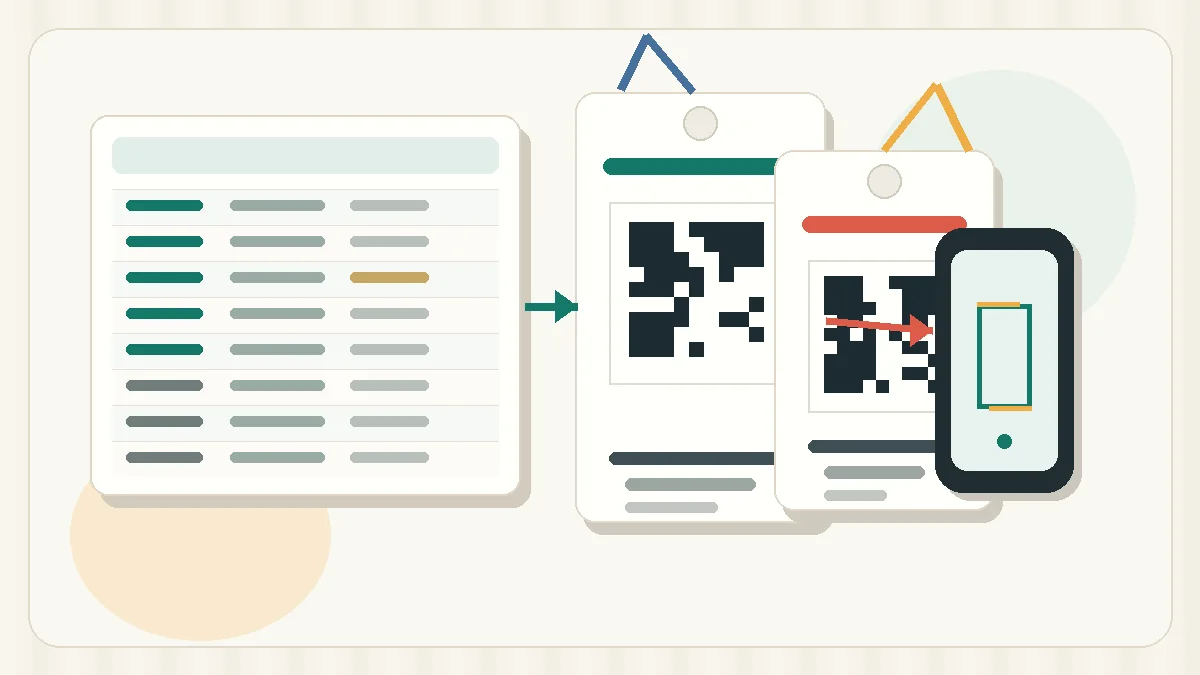
Design for fast scanning at the door
A QR badge is usually scanned at arm's length, through a plastic holder, under mixed lighting, by someone who is trying to keep a line moving. Give the QR code more room than it seems to need on screen. Keep it away from badge edges, lanyard holes, folds, clips, and heavy background colors.
The quiet zone around the QR code matters. Leave clear empty space around all sides so the scanner can find the code boundary. Do not place a border, logo, icon, or attendee text tight against the code. If the badge stock is small, reduce decorative elements before reducing the quiet zone.
Place the QR code where staff naturally point the scanner.
Make the attendee name and badge type easy to check at the door.
Encode the ID or check-in URL, not a long block of attendee details.
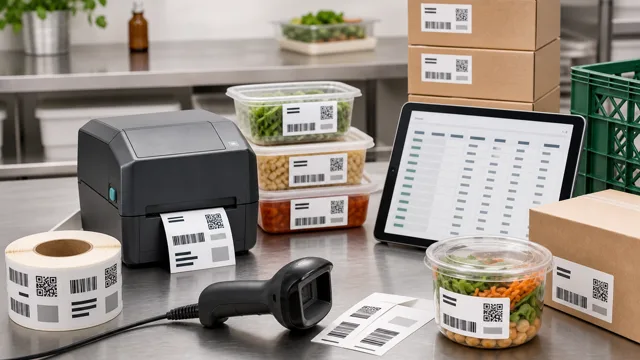
Match the print setup to badge stock
Event badges are often printed on sheets, adhesive labels, or card stock that later slides into holders. Each choice affects alignment. Sheet labels can drift from top to bottom. Card stock may shift as it feeds. Thermal labels can be fast for on-demand check-in, but the badge size and holder still need to fit the workflow.
Print a few samples before the full badge run. Place them in the actual badge holder, attach the lanyard, and scan them with the tools staff will use. A badge that scans on a desk may be harder to scan behind glossy plastic.
- Print at actual size, not fit-to-page.
- Check the first, middle, and last badges on a sheet for alignment drift.
- Scan through the badge holder if one will be used.
- Test under venue lighting, not only at a desk.
- Keep the source spreadsheet so replacements can be printed with the same ID.
Prepare reprints and walk-up badges
Events rarely stay fixed after the first export. Someone changes a name, a speaker arrives with a different title, or a walk-up attendee needs a badge immediately. Plan reprints before check-in starts. Staff should know which spreadsheet is the source, which columns map to the badge, and whether a replacement keeps the same check-in ID. For walk-up badges, create new IDs from the same pattern as the original list instead of typing names directly into a finished design.
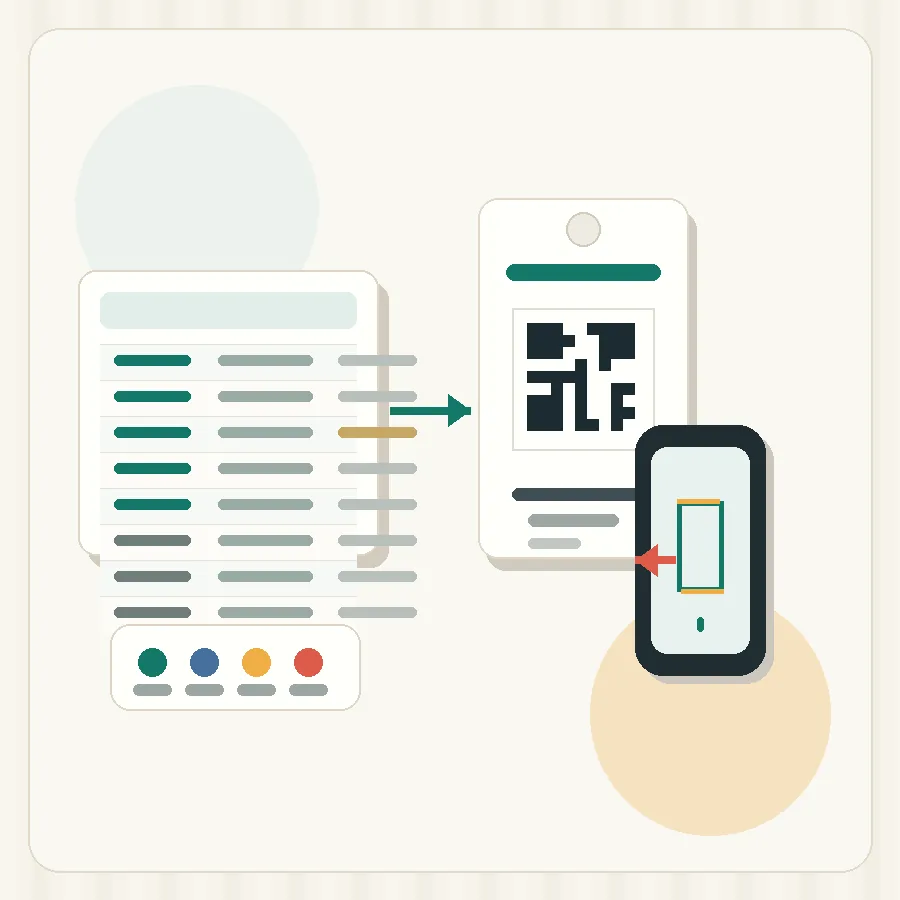
Pre-event scan test
- doneImport 10 rowsInclude long names, short names, staff badges, and special badge types.
- donePreview every fieldConfirm the QR value, name, organization, and badge type map to the right places.
- donePrint real samplesUse the same stock, printer, and holder planned for the event.
- doneScan like check-inUse the actual app, scanner, phone camera, or check-in page.
- doneApprove reprintsConfirm how staff will replace a damaged or corrected badge.
If you are building badges from an attendee export, the spreadsheet workflow in How to Print Barcode Labels from Excel or CSV is a good next reference. If the QR code is being squeezed into a small badge area, review Barcode Quiet Zone and Label Size before printing the full batch.
Prepare a 10-person attendee spreadsheet, build one QR badge template in Label Codes, print real samples, and scan every sample before producing the full event badge batch.